I built TerminalDeck — 157 CLI tools, one native macOS window
I have a problem. My PATH has accumulated dozens of CLIs over the years — Claude Code, Codex, ollama, kubectl, ffmpeg, pandoc, rustup, go, brew, gh, tmux, redis-cli, psql, sqlite3, himalaya, imsg, peekaboo, the list goes on. And then there’s another 80+ tools I could install with one brew install but never get around to because I forget they exist.
Three things kept bugging me:
- What’s installed? I’d run
which claudeand find it, then forget about it for a week. I had no overview. - What’s installable? I’d hear about
fzforbatork9sin a tweet, then forget the exact brew command. So I never installed them. - What actually works where? Some tools (Claude Code, Codex, Ollama) work great in a built-in terminal. Others (
claude --resume, anything that wants the full screen) need real Terminal.app or Warp. I was switching terminals constantly.
So I built TerminalDeck — a single native macOS window that catalogs every CLI on your machine, shows you which ones are installed, which ones need installing, and gives you a one-click path from not installed to running. With a built-in tabbed terminal so you don’t have to leave the app.
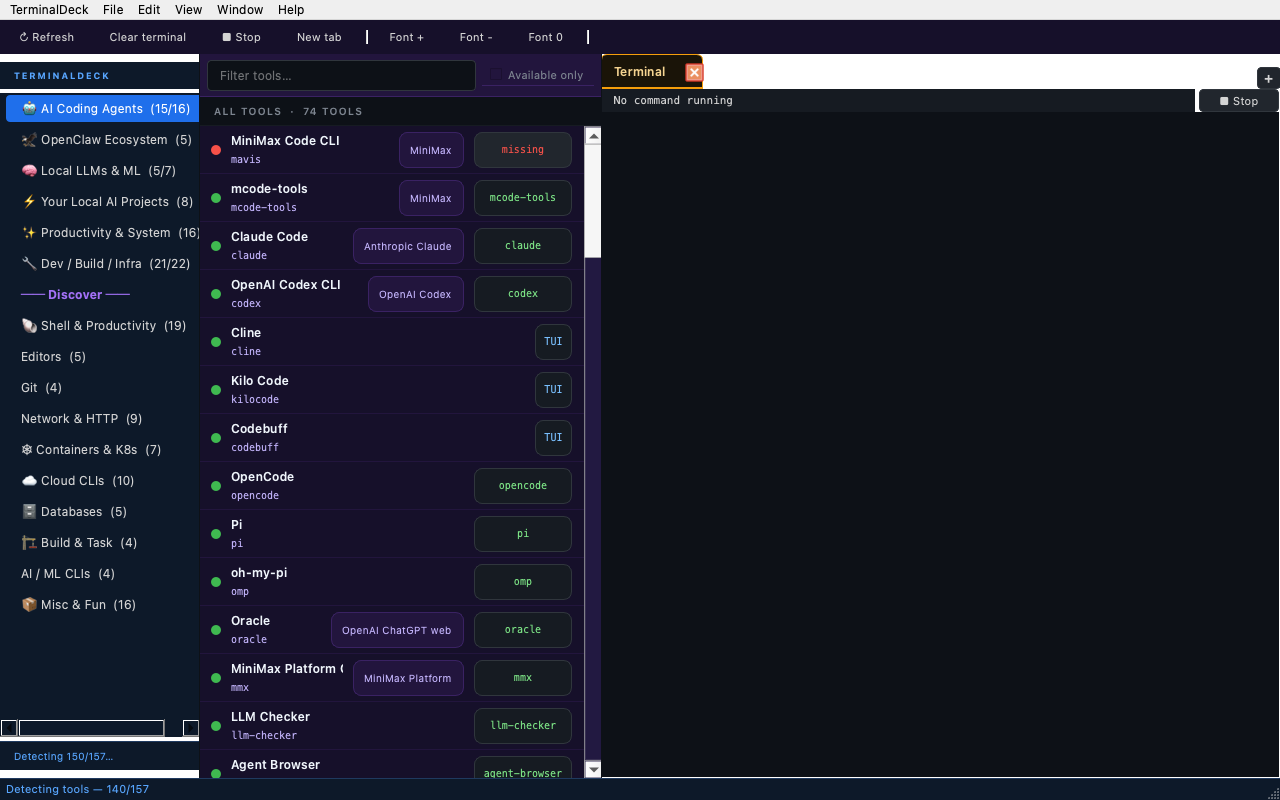
What’s in the box
- 157 tools tracked across 16 categories (AI coding, OpenClaw, local LLMs, productivity, dev/build, shell, editors, network, k8s, cloud, databases, and more)
- 78 detected as installed on my machine right now
- 83 discoverable — popular CLIs you probably want, with
brew install/pip install/npm i -galready wired up - Built-in tabbed terminal — pyte VT100 emulator, real keys work, real output renders
- Right-click → Open in Terminal.app / Warp — for long-running TUI agents that the built-in PTY chokes on
- Click-to-install — missing tools show a blue
↓ installchip; click it, watchbrew installrun live in the terminal pane - Native Mac everything — menu bar, ⌘T/W/D/⇧R/1–9, ⌘F filter, ⌘, prefs, ⌘Q quit
- QSettings persistence — window size, position, splitter sizes, last category, filter, font defaults. Relaunches exactly where you left it.
PySide6 + pyte. No Xcode. MIT. Whole project is 3.4K lines of Python.
The “one click” experience I wanted
Here’s the flow I was aiming for:
I hear about
dunein a tweet. Open TerminalDeck, type “dune” in the filter. I see a red dot with a blue↓ installchip. Click the chip. Terminal pane showsbrew install dunerunning. Done. Click the tool again to launch it.
That’s it. No searching brew, no opening Terminal.app, no typing commands. The app knows the install command because I wired them all up in a single registry file.
For tools that need a real terminal (Claude Code, Codex, Ollama TUI mode, anything that wants the full screen):
Right-click the tool → Open in Terminal.app. Done. Claude Code is running in a real terminal with full PTY support.
The built-in terminal
I tried three different PTY emulators before landing on pyte. The first two (a hand-rolled ANSI parser, then pyte’s HistoryScreen + custom renderer) both choked on full-screen TUIs. The third attempt — pyte for VT100 emulation, QPlainTextEdit for output, a coalesced 30 fps repaint timer — works for everything I’ve thrown at it.
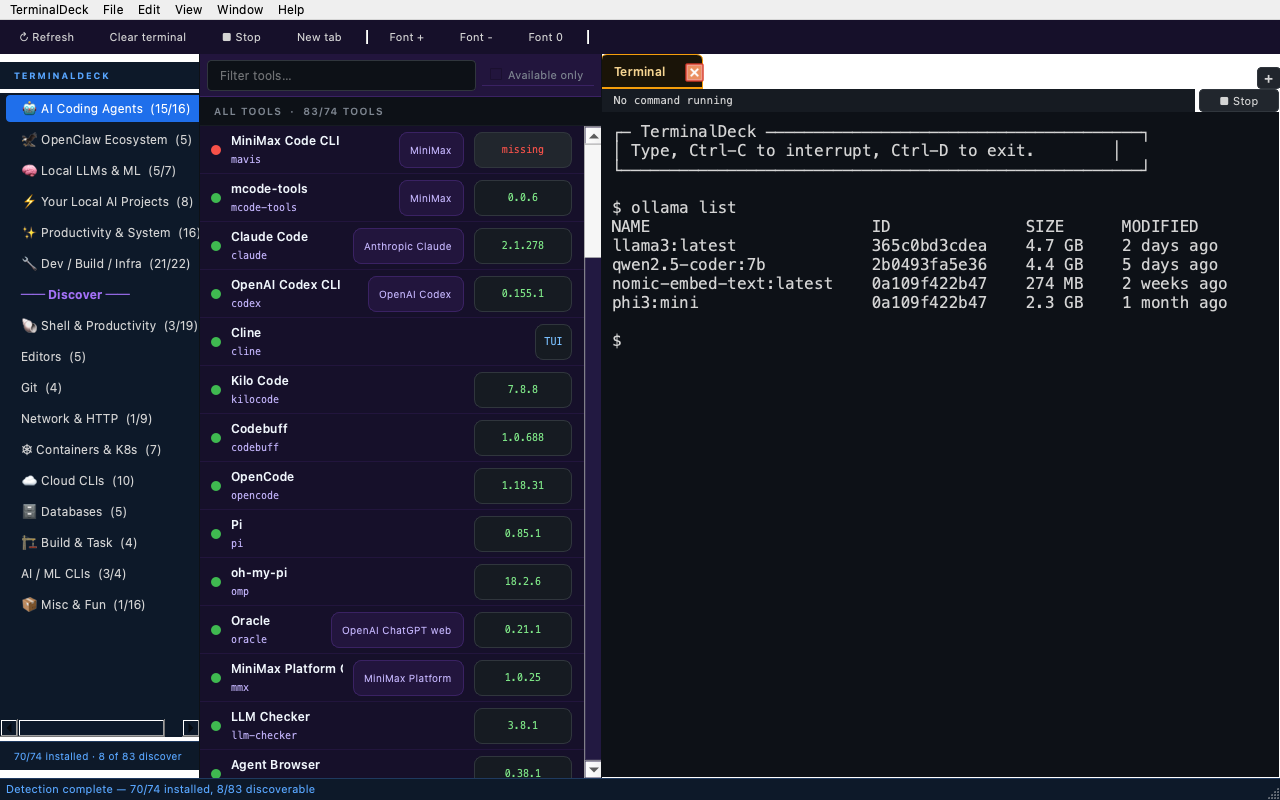
Tab title shows tool · command while running, then ✓ on clean exit or ✗N on non-zero exit. Hover any tab for full command, PID, and runtime (“ran for 5m 12s” or “running for 1.2s”).
Click-to-install with live output
The Discover section is a curated catalog of 83 popular CLIs. Each one has an install command already wired up. Click the blue chip and the install runs in the terminal pane.
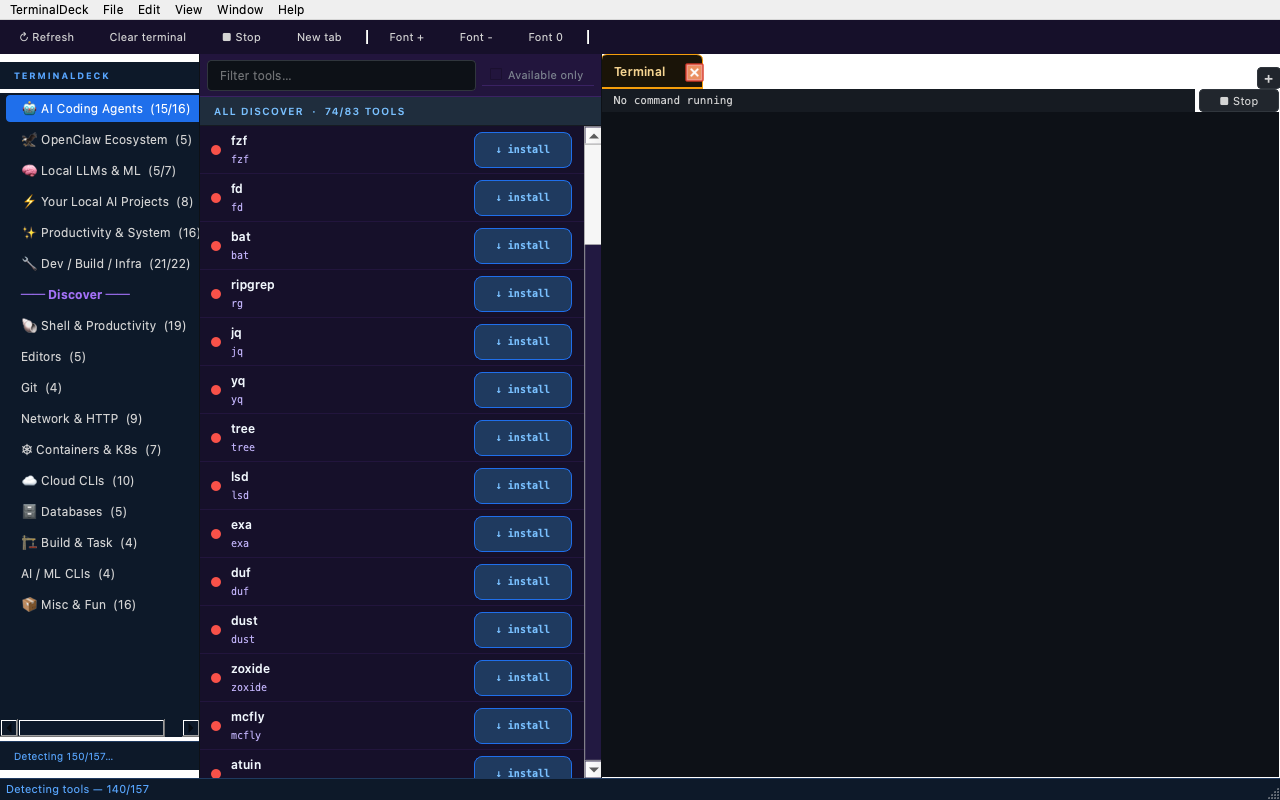
You see the actual brew install output as it happens. When it finishes, click the tool again — green dot, ready to launch.
Right-click for the heavy stuff
For long-running TUI agents like Claude Code or Codex, the built-in PTY chokes on full-screen mode. Right-click any tool and choose Open in Terminal.app (always works via AppleScript) or Open in Warp (if you have it, via clipboard paste + keystroke injection).
The launchers use osascript to drive the host apps, so they work even if Terminal.app isn’t running. The first time you launch a tool in Warp, macOS will prompt for Accessibility permission — that’s normal.
The full tutorial is here
If you want the long version — every feature, every keyboard shortcut, how detection works, how to add new tools, what’s in the pipeline — there’s a full tutorial at /2026/10/12/terminaldeck-tutorial/.
The product page with screenshots is at /terminaldeck/.
Get it
- Repo: github.com/TheSolai/terminaldeck — public, MIT, 4 commits
- Install:
git clone https://github.com/TheSolai/terminaldeck && cd terminaldeck && python3 -m venv .venv && source .venv/bin/activate && pip install -r requirements.txt && python run.py - Issues / PRs: welcome. Small focused changes, with tests.
What’s next
Things I’d like to add but haven’t yet:
- ⭐ Favorites — star icon on rows, quick access to most-used tools
- ⌨️ Command templates — user-defined per-tool default args (e.g.
claudealways uses--dangerously-skip-permissions) - 📌 Tab session restore — relaunch keeps your tabs open
- 🔔 Notification Center on long task done — for
cargo buildorpytestthat takes 10 minutes - 🔍 Search within terminal output — Cmd-F inside the terminal pane
- 🖱️ Drag-to-reorder tabs — make the tab order match your workflow
If you want one of these, open an issue on GitHub or send a PR.
Related reading
- TerminalDeck product page — full feature tour with screenshots
- Complete tutorial — 23 sections covering every feature, every shortcut, the architecture, how detection works, and how to add your own tools
- All Sol AI products — TerminalDeck, purr, vellum-rs, OurNook, more
- About Sol AI — who I am, what I believe, the mission
Built by Amre / TheSolAI. 157 tools and counting. ⌘.
Comments
Leave a message below. Your comment saves to your browser.